

How to Set Up an Android SMS Gateway
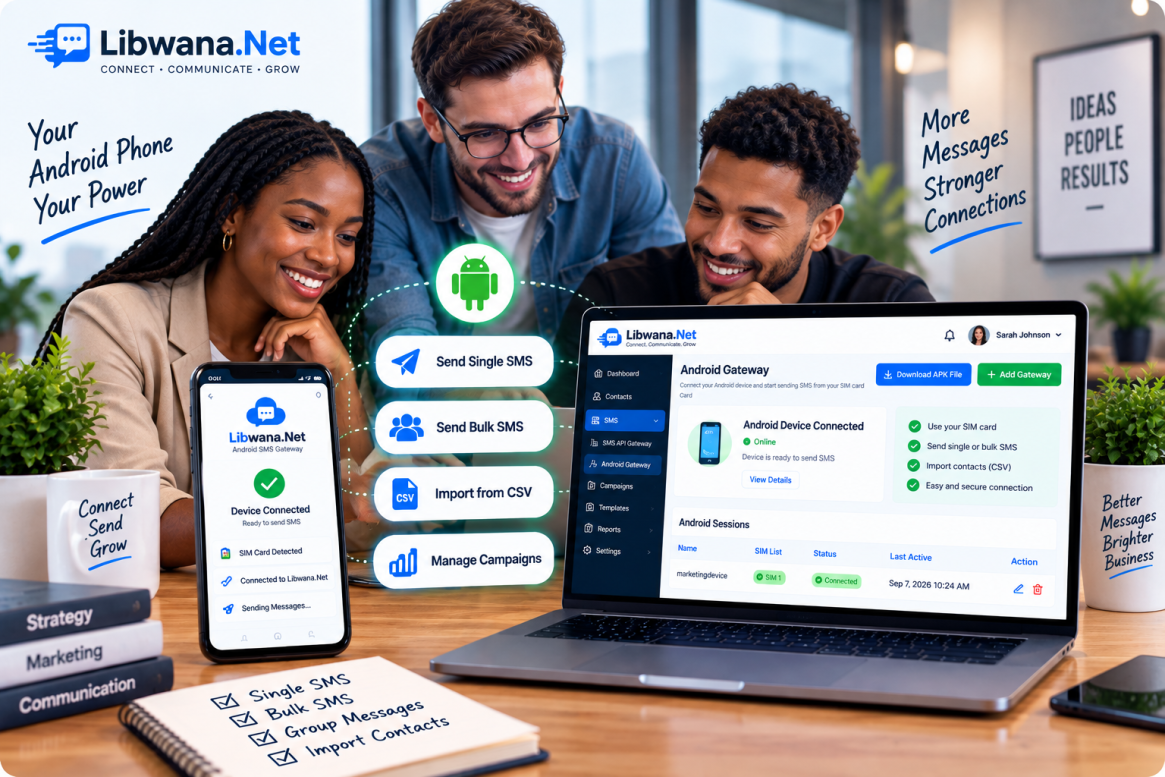
Libwana.net provides two options for sending SMS: SMS API Gateway and Android Gateway. The Android Gateway allows you to connect your Android phone to Libwana.net and use the SIM card installed in your device to send SMS directly from the web platform.
Once connected, you can send single SMS messages, bulk SMS, group messages, and messages to contacts imported from a CSV/file.
This guide explains the complete Android Gateway setup.
1. Open Android Gateway
Log in to your Libwana.net account and navigate to:
Gateway → SMS → Android Gateway
The Android Sessions page will open. From here, you can create and manage the Android devices connected to your account.
You will also find two important options:
+ Add Gateway – Creates a new Android session.
Download APK File – Downloads the Libwana.net Android application required to connect your phone.
2. Create an Android Session
Click + Add Gateway.
Enter a name for your Android session.
For example:
officephone
or
marketingdevice
Important
The session name must be entered in lowercase.
Use a simple name that will make the connected device easy to identify later.
Click Save to create the session.
After saving, the new session will appear under Android Sessions with the status Initiated.
3. Download the Libwana.net Android App
To connect your phone, you need the Libwana.net SMS Gateway application.
You can install it in either of these ways:
From Google Play Store:
Download Libwana.net SMS from Google Play
Or from Libwana.net:
Go to Gateway → SMS → Android Gateway and click Download APK File.
If you download the APK directly, Android may ask for permission to install apps from that source. Only install the APK obtained through the official Libwana.net platform.
4. Allow Required Permissions
Open the Libwana.net app after installation.
Allow the permissions requested by the application that are necessary for its SMS gateway functionality.
Because the Android Gateway sends messages using your phone and SIM card, the app needs the appropriate Android and SMS permissions to operate correctly.
Also configure the Libwana.net SMS app as the default SMS application when required by your Android device.
5. Connect Your Phone Using the QR Code
Return to the Android Gateway page on the Libwana.net website.
Find the session you created. Under Options, use the QR Code option to display the QR code for that session.
Open the Libwana.net application on your Android phone and use its QR scanner to scan the code displayed on the website.
This links the Android application with the corresponding Libwana.net session.
Do not share your session QR code with other people, as it is intended for connecting your device to your account.
6. Configure Your SIM Card
After connecting your device, configure the SIM card that you want to use for SMS sending.
The app displays the SIM cards available on the device, such as:
SIM 1
SIM 2
Open the required SIM and configure its settings.
Enter the SIM Number and any available SMS sending/delay settings required for your setup.
The app may provide controls such as:
Per SMS Delay – Controls the delay between outgoing SMS messages.
Delay Variant After – Defines when an additional delay should be applied.
Variant Delay Duration – Defines how long that additional delay should last.
Reset Variant Delay At – Defines when the delay cycle should reset.
After entering the required information, tap Submit.
7. Enable the SIM and Android Gateway
After configuring the SIM, enable the SIM inside the application.
Also make sure the Android Gateway/device is enabled using the switch provided in the app.
For the gateway to work correctly:
The device must be connected → The required SIM must be configured → The SIM must be enabled → The Android Gateway must be enabled.
Once the connection is successfully established, the session status on the Libwana.net website should change from:
Initiated → Connected
This indicates that your Android phone is connected and ready to work as an SMS gateway.
8. Using Dual SIM
Libwana.net Android Gateway supports configuring up to two SIM cards on a compatible dual-SIM Android device.
This means you can configure SIM 1 and SIM 2 for SMS sending from the same connected device.
Each available SIM should be configured correctly in the application before you attempt to use it from the web platform.
9. Send SMS Using the Android Gateway
Once your Android session shows Connected, return to the Libwana.net web platform and navigate to:
Messages → SMS → Send SMS
Under Sending Method, select:
Android Gateway
Then select:
Choose Android Gateway – Select the Android session you connected.
Choose SIM – Select the configured SIM that should send the SMS.
The selected SIM in your Android phone will then be used as the sending method.
10. Choose Your Audience
Libwana.net provides different options for sending SMS depending on your requirements.
You can send messages to:
Single Audience – Enter an individual recipient's phone number.
Group Audience – Send SMS to contacts stored within a selected group.
Import File – Import a supported contact file, such as a CSV-based recipient list, for bulk messaging.
You can therefore use the Android Gateway for both individual and bulk SMS communication.
11. Choose SMS Type
Select the appropriate SMS type before sending:
Plain – For standard SMS text.
Unicode – For messages containing characters that require Unicode encoding.
Keep in mind that the encoding and length of a message can affect the number of SMS segments sent.
12. Write and Send Your Message
Enter your content in the Message Body section.
You can also use available SMS templates and supported personalization options when working with saved contacts.
If you want to send the SMS later, use Schedule At to select a date and time.
Before sending, verify:
Recipient/Audience → Android Gateway → SIM → SMS Type → Message → Schedule
Once everything is correct, click Send.
Your connected Android device and selected SIM will handle the SMS sending.
Sending Bulk SMS Through Your Android Phone
Once the Android Gateway is connected, Libwana.net can be used for different SMS workflows, including:
- Single SMS – Send a message to one recipient.
- Bulk SMS – Send messages to multiple recipients.
- Group SMS – Send messages to saved contact groups.
- Imported contacts – Import recipient information from a supported file/CSV and send SMS in bulk.
- Scheduled SMS – Schedule messages for a later date and time.
Your Android phone acts as the gateway between the Libwana.net web platform and your mobile network.
Managing Android Sessions
You can manage your connected sessions from:
Gateway → SMS → Android Gateway
The session list displays information such as the Name, Password, SIM List, Status, and Options.
You can use the available options to manage an existing session, including editing its details, viewing its QR code, or deleting it when it is no longer required.
Available session statuses may include:
Initiated – Session has been created but is not fully connected.
Connected – Android device is successfully connected.
Disconnected – The device/session is currently disconnected.
Expired – The session is no longer active and may need to be reconnected or recreated.
You can delete an old session when it is no longer needed and create a new Android session at any time, subject to your account limits.
Troubleshooting Android Gateway
If the gateway does not connect or SMS messages are not being sent, first check that the Libwana.net Android app has the required permissions, the correct session QR code was scanned, the session shows Connected, the required SIM is configured and enabled, and the Android Gateway switch is turned on.
Also verify that the phone has a working mobile network connection and that the selected SIM can normally send SMS. Keep the Android device powered on and connected while using it as a gateway.
If your mobile carrier applies SMS limits, charges, anti-spam restrictions, or fair-use policies, those rules still apply when messages are sent through the Android Gateway.
Important SMS Sending Guidelines
Only send messages to recipients you are permitted to contact. For marketing and bulk SMS, follow the applicable consent, opt-out, privacy, telecommunications, and anti-spam requirements in the countries where you operate.
Your mobile network operator may also impose limits or additional charges for high-volume SMS sending. The Android Gateway does not bypass carrier restrictions or local regulations.
Conclusion
The Libwana.net Android Gateway provides a simple way to use an Android phone and its SIM card for SMS communication without configuring a third-party SMS API.
The complete setup is:
Gateway → SMS → Android Gateway → Add Gateway → Create lowercase session name → Download Libwana.net APK → Allow permissions → Set up the SMS app → Scan Session QR Code → Configure SIM → Enable SIM & Gateway → Confirm Connected Status
Then, to send SMS:
Messages → SMS → Send SMS → Select Android Gateway → Choose Session → Choose SIM → Select Audience → Write Message → Send
Once configured successfully, you can use your connected Android device to manage single SMS, bulk SMS, group messaging, imported recipient lists, and scheduled SMS directly from Libwana.net.
Recent Blogs
 Mon, Sep 7, 2026 7:25 PM
How to Set Up an Email Gateway in Libwana.Net for Single & Bulk Email Sending
 Mon, Sep 7, 2026 7:31 PM
How to Set Up an SMS API Gateway and Send Bulk SMS